Seating & Table Assignments
Plan exactly where everyone sits. The Seating page lets you create tables, assign guests, and keep an eye on capacity — all synced with your guest list and RSVPs.
Getting Started
Accessing Seating
- Click Seating in your event navigation
- Seating requires a paid plan (STEVEN Plus or Pro) — free Starter accounts see an upgrade prompt
Creating Tables
Add a Table
- Click Add Table
- Choose a table shape (round, rectangular, and more)
- Set the table name and capacity
- Save — the table appears in your seating view
Editing & Removing
- Edit a table inline to rename it or change its capacity
- Delete tables you no longer need — assigned guests return to the unassigned list
Assigning Guests
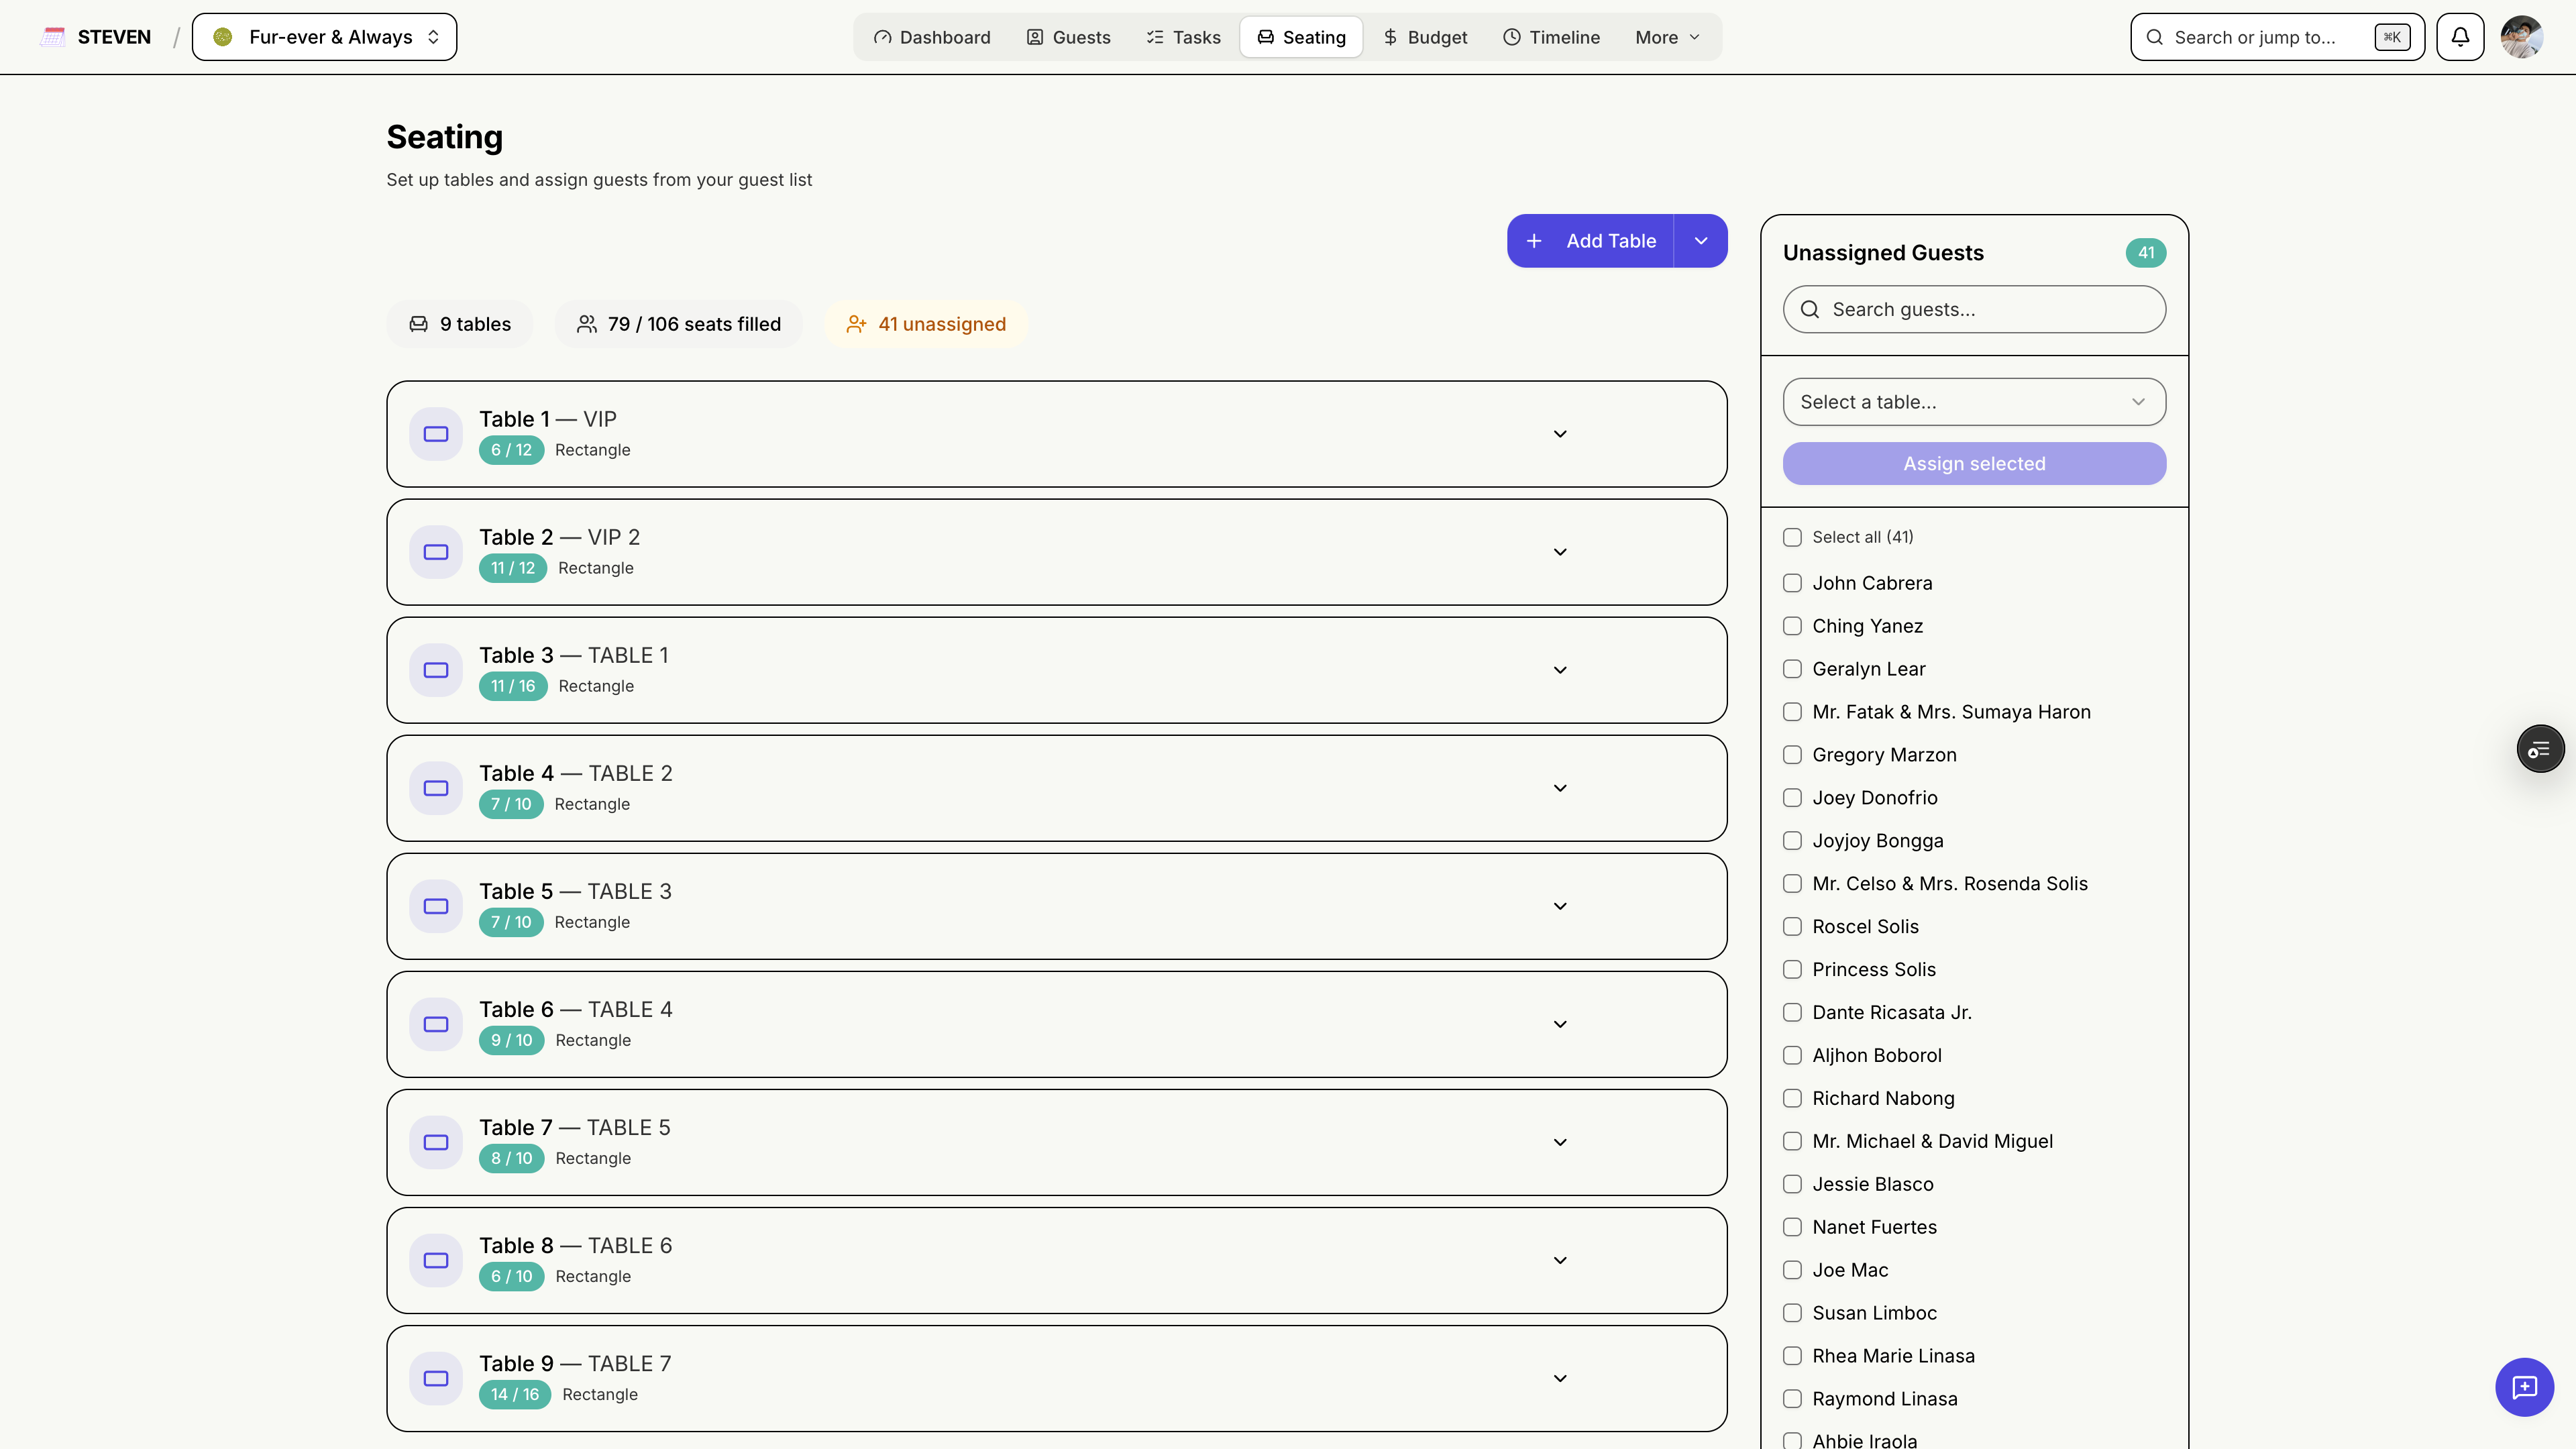
The Unassigned Guests Sidebar
All guests without a table appear in the Unassigned Guests sidebar:
- Search and filter to find specific guests
- Assign guests to a table with a click
- Unassign anyone to move them back
Capacity Warnings
STEVEN warns you when a table is over capacity, so you catch overbooked tables before printing place cards.
Syncing with the Layout Planner
Designed your floor plan in the Layout Planner? Sync its tables into Seating so your assignments match your actual floor plan — no need to recreate tables by hand.
Day-of Integration
Guests who check in on the event day see their table assignment right on their guest card. See Day-of Check-In for the full flow.
Subscription Requirements
Seating & table assignments are available on STEVEN Plus and Pro plans.
Seat families together, balance the tables, and let STEVEN handle the bookkeeping!